Showing posts with label flowers. Show all posts

Monday, March 18, 2019

Easter Decor

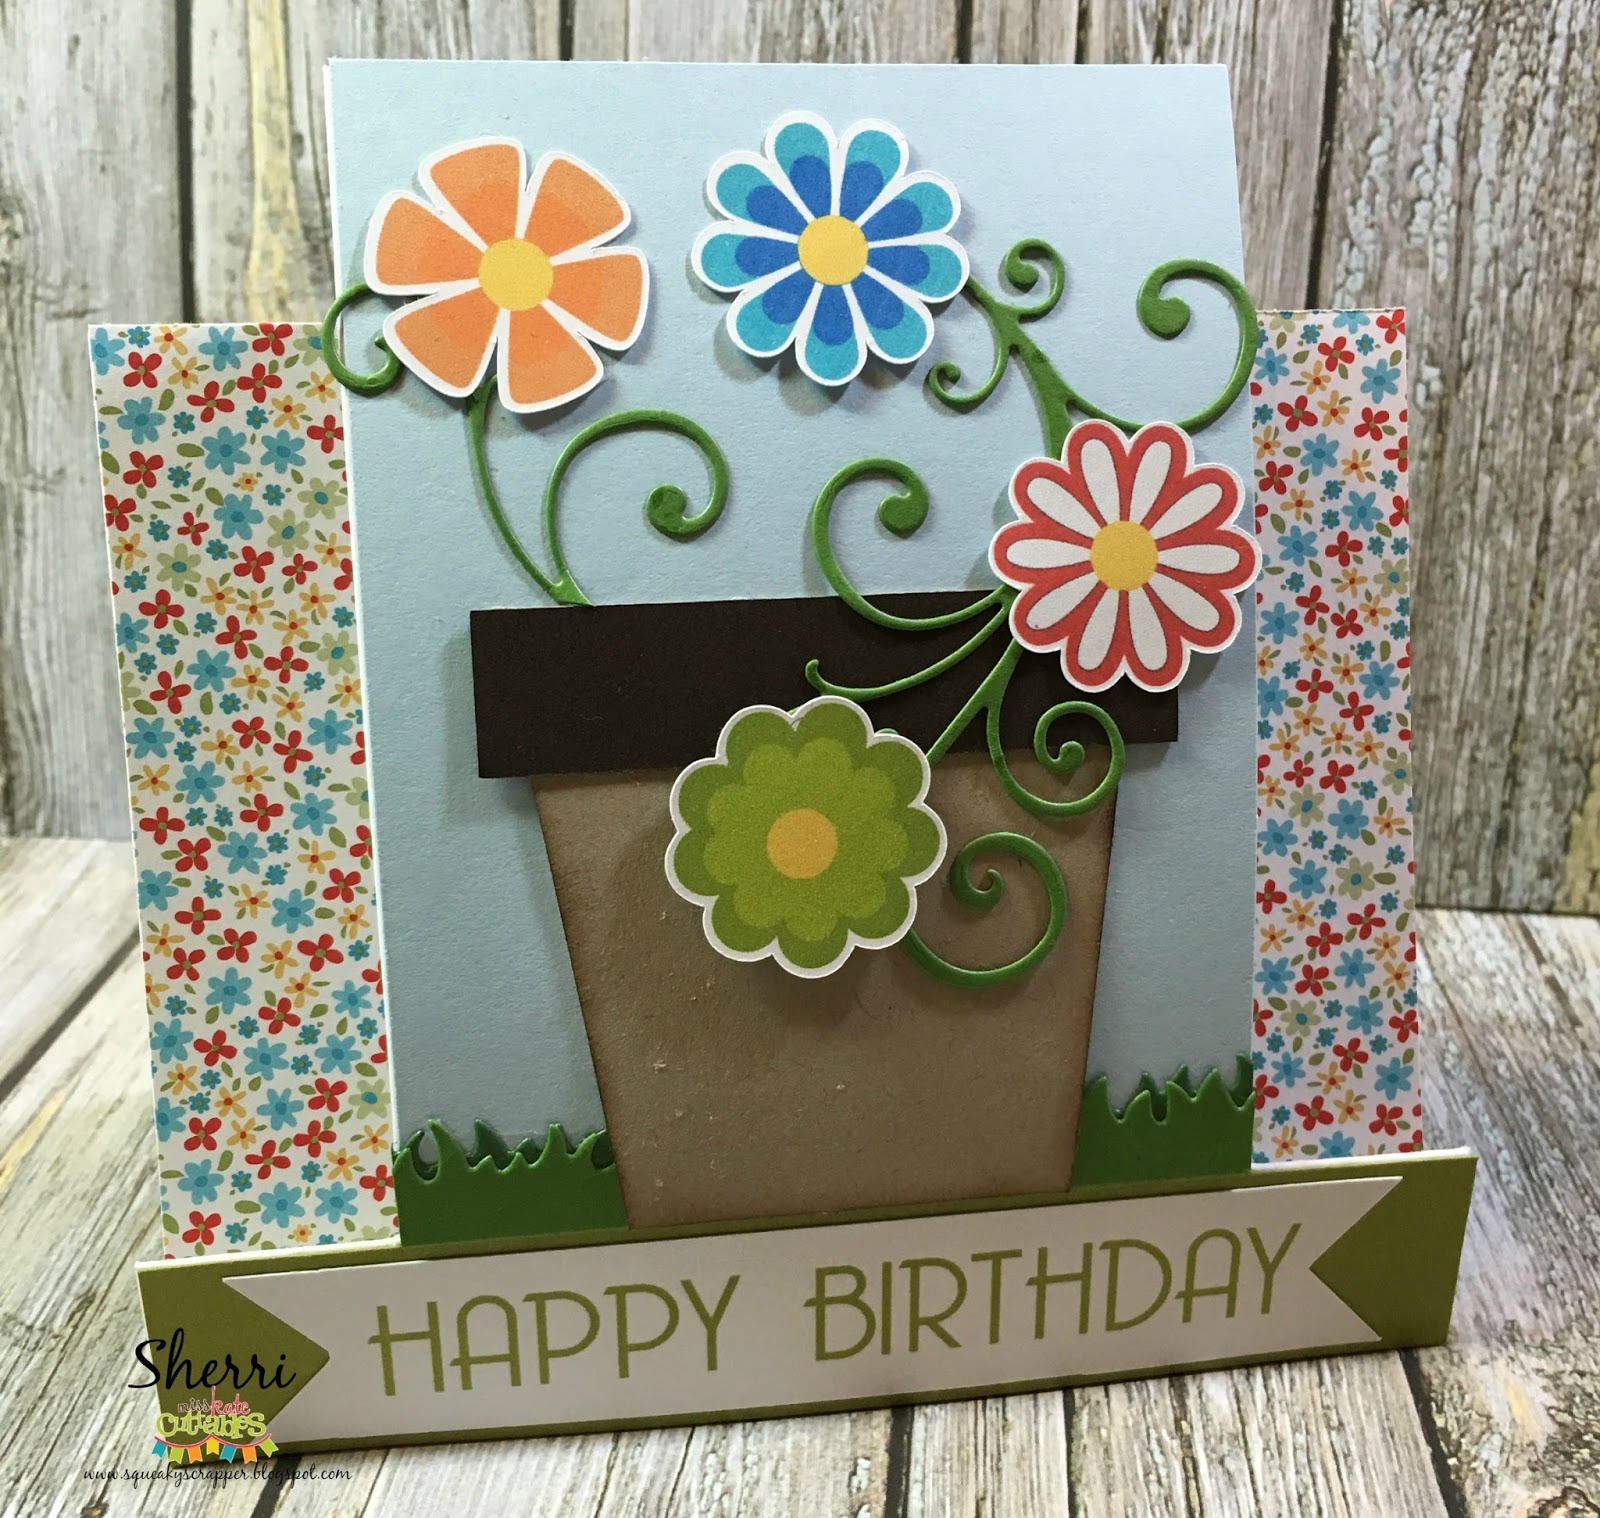
It's my turn to share a fun Easter Decor project. Who's ready for Spring? I AM!

Before we check out my project don't forget to grab the Freebie of the Day from the Miss Kate Cuttables Website.

Here's my Easter Decor Project:


First thing I did was paint my wooden round. I have been wanting to try the buffalo plaid style for a really long time and finally gave it a try! (Search YouTube for tutorials)
Here's a look at my plaid pattern:


I then planned out my wording and the leaf accents...I wanted to keep them simple.
I used just the "Easter" portion from this Easter Title.

I used the only the green leaf layer from this Spring Wreath SVG.

I placed just the elements I wanted to use in my cameo software and placed the Easter on top of the wreath and subtracted the wreath so they would not overlap. I cut this from vinyl, applied it to the sign and used chalk paint and a foam brush to add the green and pink. 

Since the background pattern was a bit busy I was not happy with the contrast of the Easter and leaves in the wreath. I first decided to do a solid fine point sharpie around the elements then decided to do a line/dot pattern. It's a bit less forgiving and I like the look. 
Here's my work in progress...


I experimented at the top of my sign where I knew my flower and bow would cover up. 
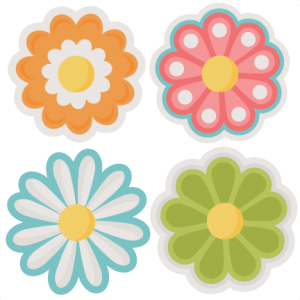
I added my flower and ribbons to the top and placed it on a stand. Super happy and love the bright spring colors.


Thanks for stopping by today! Please stop by my blog and follow along!

Sunday, September 30, 2018

September Fan Projects

Hello There! It's Amy from the Design Team and I'm sharing the Miss Kate Cuttables Fan Projects from September.

You can share all your Fan Projects on the Miss Kate Cuttables Galleria Facebook Page!

Here are the wonderful creations!

Card by Julieta Martinez Flores‎ 

Truck by Loretta Potz

Halloween Cards by Kim Harris

Summer Digital Layouts by Kim Harris


Thanks to everyone who shared their projects this month!


Monday, May 28, 2018

Flower Cut Cards

Today is a fun and easy project from Miss Kate Cuttables and me! I used a great technique which can be used on any design. I used it on some flowers.

Before we get started on the project, don't forget to get your DAILY FREEBIE over at Miss Kate Cuttables!


I took the file, "Daisy Flower Flourishes" I opened it up in my Silhouette program. I ungrouped the flowers and took the daisy with the red center and placed it on my mat. I sized the flower to the size I wanted and removed the area where the red center was. I then used my "slice" tool and cut away all the bottoms of the petals so all that was left was arches in the form of a flower. I then selected it all and grouped them. Save this file. Next take a rectangle file for your card front and arrange the new cut file you made where ever you want to cut the daisies. I made some of them large and some small. You can arrange them any way you would like, in a row, in a circle, all over or just one large daisy.
 This is a fun way to make cut files and use your files a bit differently then just cutting the file as is.


After I got all my card fronts cut, I lifted up the petals by bending at the base. Make sure you do good, clean cuts. Double cuts are a good idea to make your bending easier. Now all you have to do is add some scrap papers behind the cuts and mount onto a card base. I decided to cut my card front a bit smaller to add some interest. I added buttons, faux enamel dots and jelly dots to my cards. You can add anything you would like to the centers. Other ideas are: dimensional paint, puff paints, beads, pearls, brads, eyelets, enamel paints, cardstock punches or just color the centers with markers!


I hope you enjoy my technique and try it for yourself!! Until next time, Happy Crafting!!

Friday, May 4, 2018

May Flowers Card

Happy MAY! Everyone 
today I created this cute flower card to celebrate 
the month of May! Don't forget to get your 
Freebie of the Day! {HERE}
How adorable are this bright flower made from
our very own Miss Kate Cuttables
I used the sweet Assorted Flowers and used 
my Brother print and cut2 
created a bouquet! 
Assorted Flowers SVG cut files flower scal files free scut files free svgs for scrapbooking

I used the stems from one of the many flower files and
added a cute yellow raise dot to the centers.
What flower are not complete with~out a cute
butterfly and bees hanging around.
  Butterfly
   Smiling Bee

Just love how it all came together with 
a cute saying about Friendship! 
Make sure you pop on over and see this cute 
card on my blog @


Saturday, September 9, 2017

Hi Friend

Hey there!  It's Sherri from The Squeaky Scrapper and I'm super excited that today is my day on the blog...WOO HOO!

Don't forget your weekly freebie file ~  If you haven't gotten it, you can grab it here ~ Freebie of the day!.
~~~~~~~~~~~~~~~~~~~~~~~~~~~~~~~~~~~~~~~~~~~~~~~~~~~
Today I made a card using these cute little flowers from the "Flower Group".

It came out like this ~


If you'd like more information on how I created this card, stop on over to my blog at The Squeaky Scrapper and say hello. 

Thanks for stopping by today.

Monday, May 1, 2017

Little Things Mean a Lot


I'm so excited to share my Miss Kate Cuttables project with you!
But FIRST I want to make sure you go grab the FREEBIE of the day.


Miss Kate Cuttables File Used


My Project


Head on over to the Miss Kate Cuttables Facebook Group and share the projects you are making with her incredible files. We love to be inspired by your creations!

Enjoy the rest of your day.


Saturday, May 7, 2016

Happy Birthday Flowers

Hey everyone, it's Sherri from The Squeaky Scrapper with today's post!

Have you grabbed your free file from the store yet??  If not, you can grab it here ~ FREEBIE.

~~~~~~~~~~~~~~~~~~~~~~~~~~~~~~~~~~~~~~~~~~~~~~~~~~~
Today I made a cute little birthday card using the files "Assorted Flower Set" and "Flowers in Pot"

This is what the files looks like from the store ~ 


This is what I did with the files ~


If you'd like to know how I created this project, feel free to pop on over to my blog at The Squeaky Scrapper.

I hope you enjoyed my project today...I would love it if you would leave me a comment and please go visit me at The Squeaky Scrapper  to follow my blog :)

Thanks for stopping by today. 

Wednesday, May 4, 2016

THANK YOU

HI ALL
 AND WELCOME
TODAY I WOULD 
LIKE TO SHARE WITH YOU THIS
THANK YOU CARD

BUT FIRST DONT FORGET TO GO AND
GET YOUR FREEBIE

HERE


OK ONTO THE PROJECT
I NEEDED TO MAKE  A
THANK YOU CARD FOR MY SISTER IN LAW

I LOVE ALL THINGS DIFFERENT
AND TRYING NEW TECHNIQUES
HERE IS WHAT I CAME UP WITH


I USED CLEAR TRANSPARENCY FILM
THEN EMBOSSED THAT BY RUNNING
IT THROUGH MY CUTTLEBUG

I THEN CUT ALL MY SHAPES IN WHITE CARD
STOCK AND INKED THEM WITH A LIGHT BROWN INK

POP DOTTING SOME HERE AND THERE FOR 
DIMENSION

I ALSO USED WINK OF STELLA MARKERS TO
ADD SOME SPARKLE 
THE "THANK YOU" SENTIMENT STAMP
IS FROM 
CRAFTIN DESERT DIVAS

HERE ARE THE FILES I USED


THANKS FOR STOPPING BY